
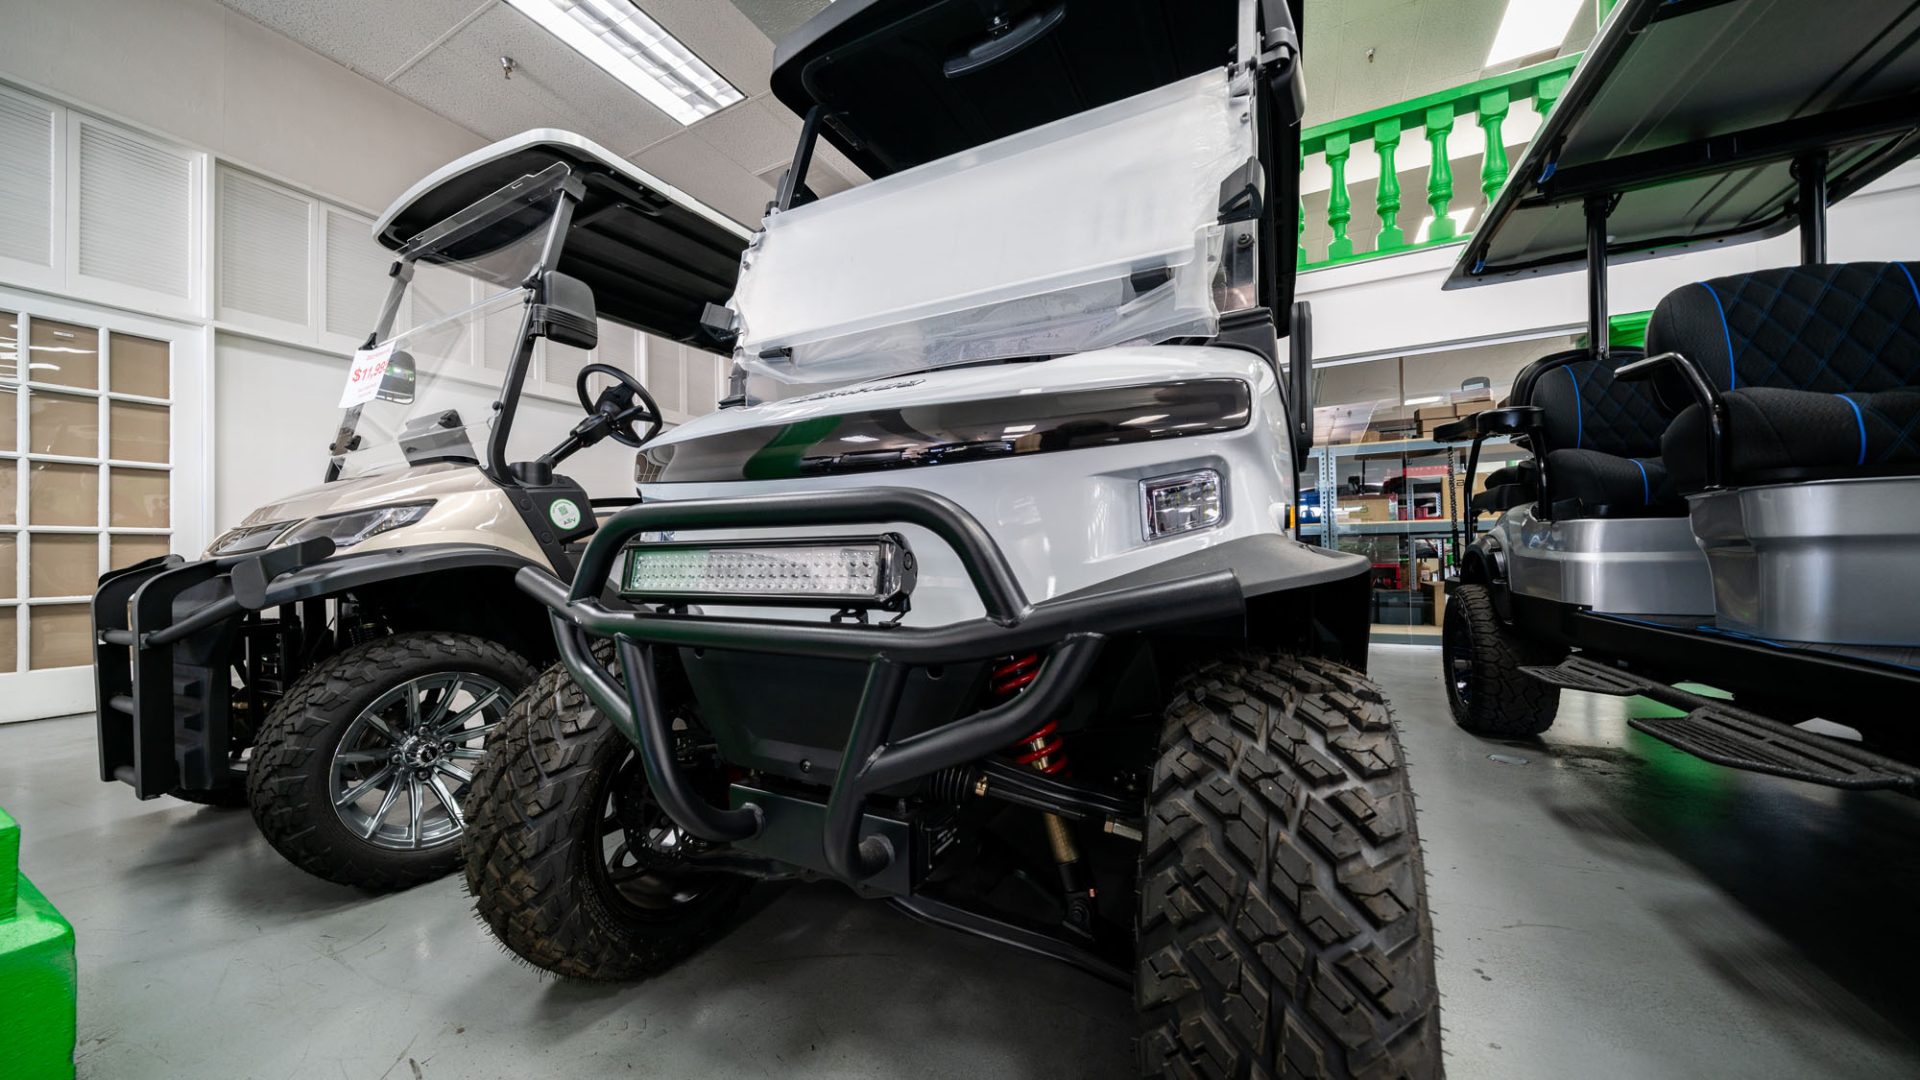
Working golf cart lights are important for visibility and safety, especially when driving around your neighborhood, community, campground, or golf course near sunrise or after sunset. Headlights help you see the road ahead, while taillights, brake lights, and turn signals help other drivers and pedestrians understand where you are going.
When your golf cart lights flicker, appear dim, or stop working completely, the cause may be as simple as a blown fuse or loose wire. Other problems may involve the battery system, voltage reducer, light switch, or damaged electrical components.
This guide explains some of the most common reasons golf cart lights stop working and the steps you can take to identify the problem. Always turn the cart off, remove the key, engage the parking brake, and follow the manufacturer’s safety instructions before inspecting electrical components.
Why Are My Golf Cart Lights Not Working?
Golf cart lighting problems can affect one light, several lights, or the entire lighting system. Paying attention to the exact symptoms can help narrow down the cause.
Common symptoms include:
- Headlights will not turn on
- Only one headlight works
- Lights flicker while driving
- Headlights are unusually dim
- Lights work intermittently
- Taillights work, but brake lights do not
- Turn signals flash too quickly or do not flash
- A fuse blows repeatedly
- Lights stop working after an accessory is installed
Begin with the easiest checks before replacing parts. A loose connector or failed bulb is usually easier and less expensive to correct than a larger wiring or electrical problem.
1. Check the Golf Cart Light Fuse
A blown fuse is one of the most common reasons golf cart headlights, taillights, or accessory lights stop working.
Fuses protect the electrical system from excess current. If a wire shorts out, a component fails, or too much electrical equipment is connected to one circuit, the fuse may blow to prevent further damage.
Locate the fuse box using the owner’s manual or wiring diagram for your golf cart. Remove the fuse connected to the lighting circuit and inspect it for a broken internal strip, discoloration, or visible damage.
Replace a blown fuse only with another fuse of the same type and amperage rating. Installing a larger fuse can allow too much current through the circuit and may damage the wiring.
When a replacement fuse blows again shortly afterward, do not continue replacing it. Repeated fuse failure often indicates a short circuit, damaged wire, incorrect accessory installation, or another electrical problem that should be professionally diagnosed.
2. Inspect the Headlight and Taillight Bulbs
If only one light is not working, the bulb or LED assembly may have failed.
Traditional bulbs can burn out over time. LED golf cart lights generally last longer, but the LED assembly, internal driver, or connector can still fail.
Check the affected light for:
- A dark or damaged bulb
- Moisture inside the housing
- Corroded terminals
- A loose plug
- Cracked lenses or housings
- Heat damage around the connector
When replacing a bulb or light assembly, use a compatible part designed for your cart’s voltage and lighting system. A light that fits physically may still be incompatible electrically.
If a new bulb does not solve the problem, the issue may involve the socket, wiring, ground connection, or power supply.
3. Inspect the Wiring and Electrical Connections
Loose, corroded, or damaged wiring can interrupt power to the golf cart lights. Wiring problems may cause lights to flicker, operate intermittently, or stop working altogether.
Carefully inspect visible wiring around the:
- Headlights and taillights
- Dashboard switch
- Fuse box
- Battery compartment
- Voltage reducer
- Turn signal assembly
- Brake pedal switch
Look for loose connectors, exposed copper, pinched wires, melted insulation, corrosion, and wires rubbing against the frame.
Flickering that becomes worse when driving over bumps often points to a loose connector or damaged wire. Problems that began after installing an audio system, light bar, turn signals, or another accessory may also be related to the new wiring.
Avoid twisting wires together or using temporary household connectors. Golf carts experience heat, vibration, moisture, and movement, so electrical repairs should use secure, properly insulated automotive-grade connections.
4. Check the Ground Connections
A poor ground connection is another common cause of dim, flickering, or inconsistent golf cart lights.
The electrical system needs a reliable return path to complete the circuit. When a ground wire becomes loose or corroded, the light may receive inconsistent power.
Possible signs of a bad ground include:
- One light is dimmer than the other
- Lights flicker when another accessory is used
- Several lights behave unpredictably
- A light works when the wiring is moved
- Corrosion is visible around a grounding point
A technician can test ground resistance and confirm whether the connection should be cleaned, tightened, repaired, or replaced.
5. Test the Headlight Switch
A worn or damaged headlight switch can prevent the lights from turning on even when the fuses, bulbs, and wiring appear normal.
The internal contacts inside the switch may wear out, loosen, or become corroded. You may notice that the lights only work when the switch is held in a certain position or moved several times.
A switch problem is more likely when:
- All headlights stop working at once
- The lights turn on and off when the switch is moved
- The switch feels loose or unusually stiff
- Power reaches the switch but does not continue to the lights
Testing the switch usually requires a multimeter and the correct wiring diagram. Replacing the switch may solve the problem, but it is best to confirm the diagnosis before purchasing parts.
6. Check the Battery Charge and Electrical Output
Dim golf cart lights may be caused by low battery voltage rather than a problem with the lights themselves.
When the batteries are weak, undercharged, damaged, or poorly connected, the lighting system may not receive steady power. You may also notice slower acceleration, reduced driving range, or other accessories operating poorly.
Check whether:
- The cart is fully charged
- Battery terminals are clean and tight
- Lead-acid batteries have proper water levels
- Battery cables are damaged or corroded
- The charger is operating correctly
- The battery pack holds a charge
Our golf cart battery maintenance guide explains how charging habits, corrosion, water levels, and inspections can affect battery performance.
Do not assume the battery pack is healthy simply because the cart still moves. A weak battery system may operate the motor while failing to provide stable power for lights and accessories.
7. Inspect the Voltage Reducer
Many electric golf carts operate on 36-volt, 48-volt, or higher-voltage battery systems, while common headlights and accessories may require 12 volts. A voltage reducer converts the battery pack’s voltage to a level the lighting system can use.
When the reducer fails or is wired incorrectly, the lights may:
- Stop working completely
- Appear unusually dim
- Flicker
- Burn out repeatedly
- Work only when certain accessories are off
A voltage reducer should draw power properly across the battery system rather than placing an uneven load on only part of the battery pack. Incorrect accessory wiring can contribute to unbalanced battery wear and other electrical issues.
Testing or replacing a voltage reducer involves working near the main battery system, so professional service is recommended unless you have the correct tools, wiring diagram, and electrical experience.
8. Troubleshoot Golf Cart Brake Lights
When the taillights work but the brake lights do not, the problem may involve the brake light switch, wiring, fuse, or light assembly.
The brake light switch is usually activated when the brake pedal is pressed. If the switch is damaged, misaligned, or disconnected, the brake lights may not receive the signal to turn on.
Ask someone to stand safely behind the cart while you press the brake pedal. If neither brake light activates, inspect the fuse and brake switch circuit. If only one side fails, the problem is more likely related to the bulb, LED assembly, connector, or wiring on that side.
Because working brakes and brake lights are important for safe operation, address these problems before continuing to drive in areas with other vehicles or pedestrians.
9. Troubleshoot Golf Cart Turn Signals
Turn signal problems may involve the bulbs, LED assemblies, flasher relay, switch, fuse, wiring, or ground connections.
Common problems include:
- One signal does not work
- Signals do not flash
- A signal flashes unusually fast
- Hazard lights work, but turn signals do not
- The indicator on the dashboard remains solid
Fast flashing often means one light in the circuit is not operating correctly. A solid signal may point to a failed flasher relay, wiring issue, or incompatible LED installation.
If turn signals were added after the cart was manufactured, inspect the installation carefully. Aftermarket kits can create problems when connectors loosen, grounds are poor, or the system is not compatible with the cart.
10. Look for Water, Corrosion, and Heat Damage
Arizona’s dry climate does not eliminate the risk of electrical damage. Golf carts may still be exposed to rain, washing, irrigation water, dust, extreme heat, and long periods of sun exposure.
Moisture can enter cracked light housings or poorly sealed connectors. Heat can make plastic connectors brittle and weaken wire insulation.
Inspect for:
- Condensation inside a light housing
- Green or white corrosion on terminals
- Brittle or cracked wire insulation
- Melted connectors
- Discolored wiring
- Loose seals around the light assembly
Replacing a damaged housing or connector early may prevent a larger electrical problem later.
When Should You Get Professional Golf Cart Light Repair?
Some golf cart lighting problems can be corrected by replacing a fuse or bulb. Others require electrical testing and professional diagnosis.
Schedule service when:
- A fuse repeatedly blows
- Wiring is melted, exposed, or heavily corroded
- The voltage reducer may have failed
- Several electrical accessories stop working together
- The battery pack is not providing stable voltage
- The problem returns after a repair
- You do not have the correct wiring diagram or testing equipment
Continuing to operate a cart with damaged wiring can lead to additional component failure and may create a safety risk.
Golf Cart Light Repair in Sun City West and Scottsdale
If your golf cart headlights, brake lights, taillights, or turn signals are not working properly, Golf Car Superstore can help identify the cause and complete the necessary repairs.
We offer mobile golf cart service for qualifying repairs and a full golf cart repair and service department for electrical diagnosis, battery testing, routine maintenance, and other repairs. With locations in Sun City West and Scottsdale, Golf Car Superstore serves golf cart owners throughout Phoenix, Buckeye, Surprise, Glendale, Peoria, Scottsdale, and surrounding Arizona communities.
Contact us to schedule service and get your golf cart lights working safely and reliably again.